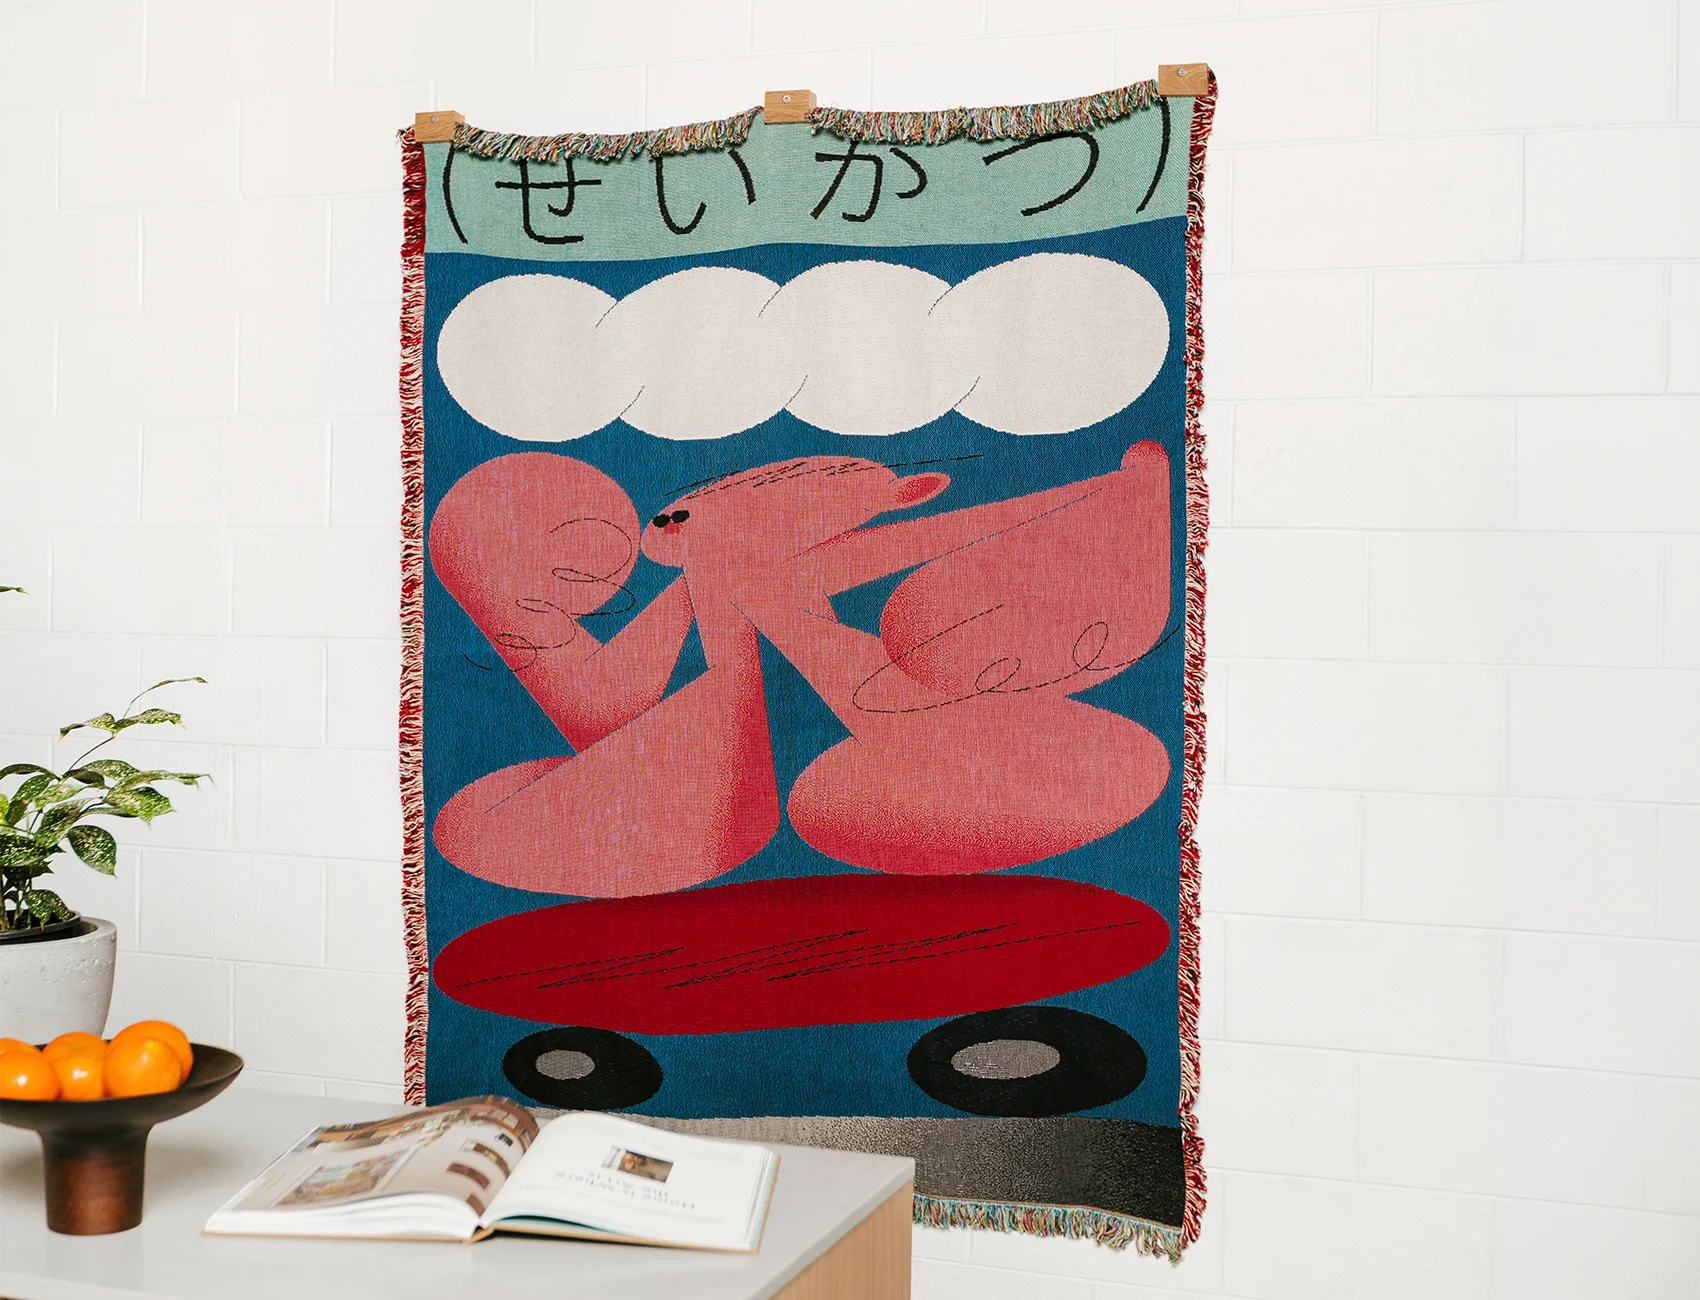
How to Hang a Blanket as a Tapestry on the Wall
Tapestry on wall setups don’t need to be complicated. You just need your Slowdown Studio throw, a few basic tools, and this guide :)
Whether you're adding a punch of color to your wall art bedroom, creating a textured moment in your living room, or curating a gallery wall, we're here to help you do it, effortlessly.
Watch Video Tutorial

Shop Blanket Hanger Clips
-
 Blanket Hanger Clips - Beechwood (Set of 3)Blanket Hanger Clips - Beechwood (Set of 3)
- Regular price
-
$520.00 - Regular price
-
- Sale price
-
$520.00

Tools & Materials You'll Need
- Iron or steamer
- Measuring tape
- Pencil
- Drill + appropriate drill bit for your wall type
- Wall plugs/anchors (for masonry or drywall)
- Screws
- Spirit level
- Slowdown Studio Tapestry Hanger clips
- Slowdown Studio Woven Blanket
- Optional: stud finder (if working with drywall or plaster walls)
Step-by-Step Instructions
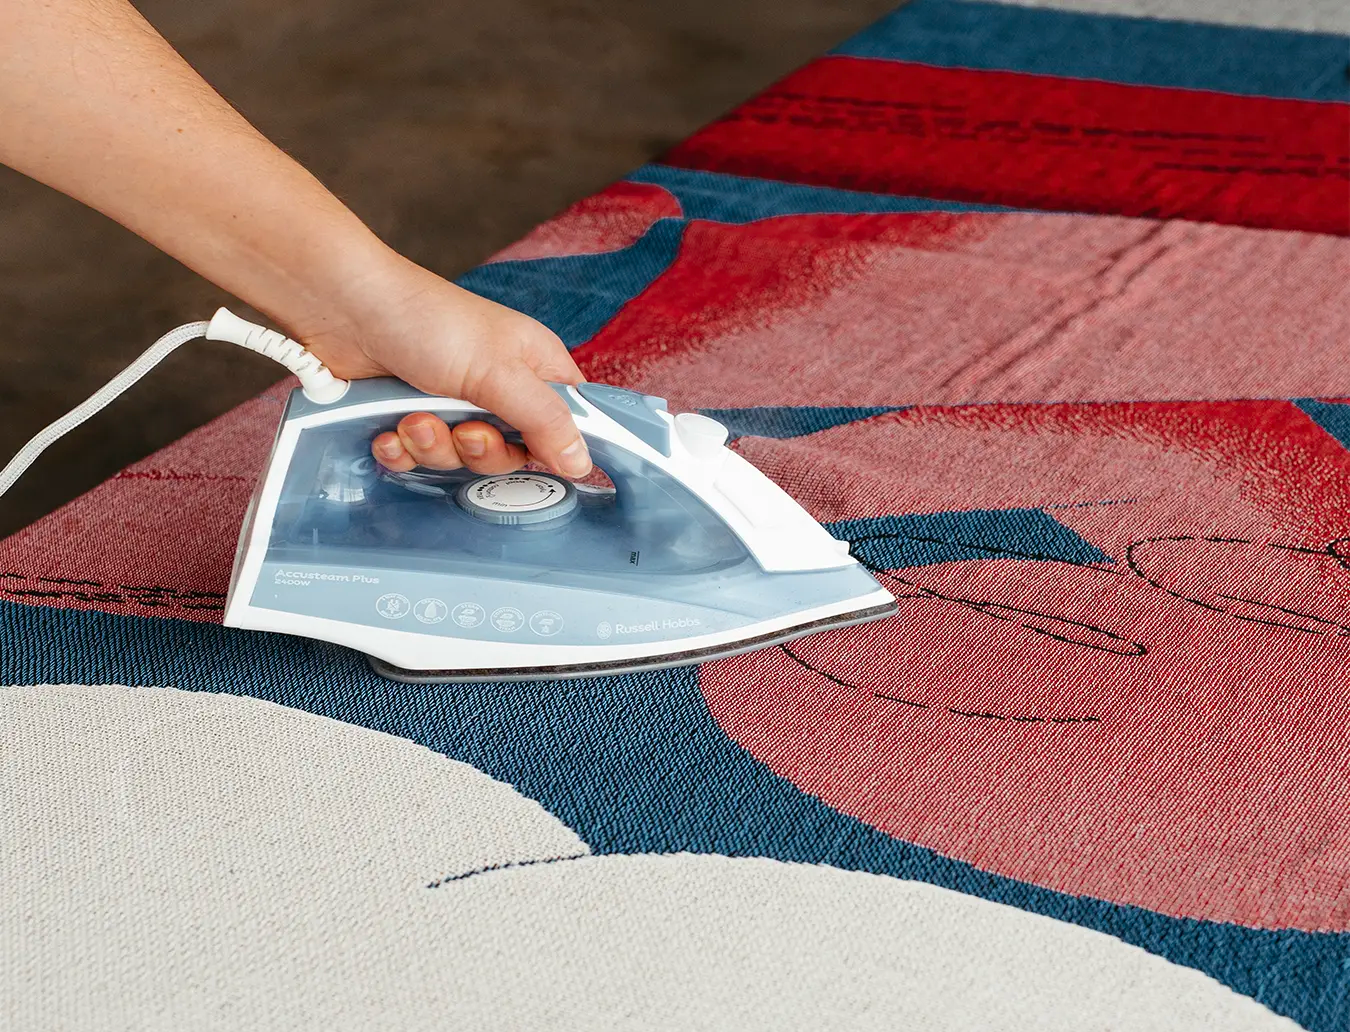
1. Give your blanket a quick press
Lay your woven tapestry blanket flat and lightly iron or steam it to smooth any creases. This makes your wall hanging tapestry art feel crisp and intentional.
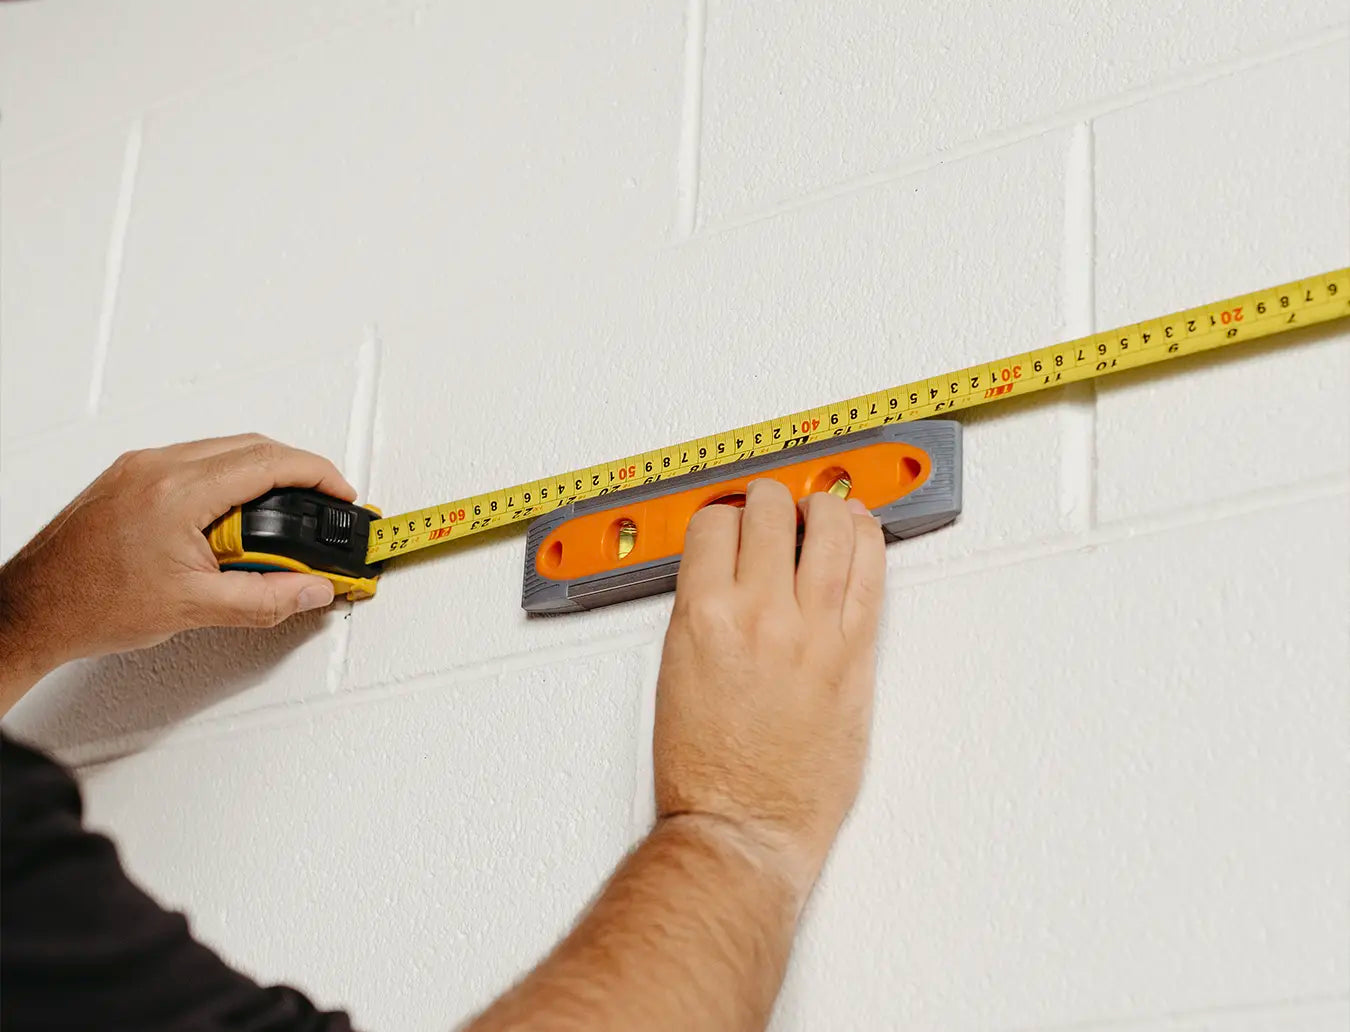
2. Decide on your hanging height
Hold your blanket up against the wall (grab a friend to help you here) and decide where you'd like the top edge to sit so that it works with your interior decor.
Our woven blankets are 54 inches (137 cm) wide, but leave a 2-inch (5 cm) buffer on each side. That gives you a safe hanging zone of 50 inches (127 cm) across the top.
Next, measure and mark the center point on your wall and this is where your middle clip will go. From that center mark (using a spirit-level):
- Measure 25 inches (63.5 cm) to the left and mark the left clip
- Measure 25 inches (63.5 cm) to the right and mark the right clip
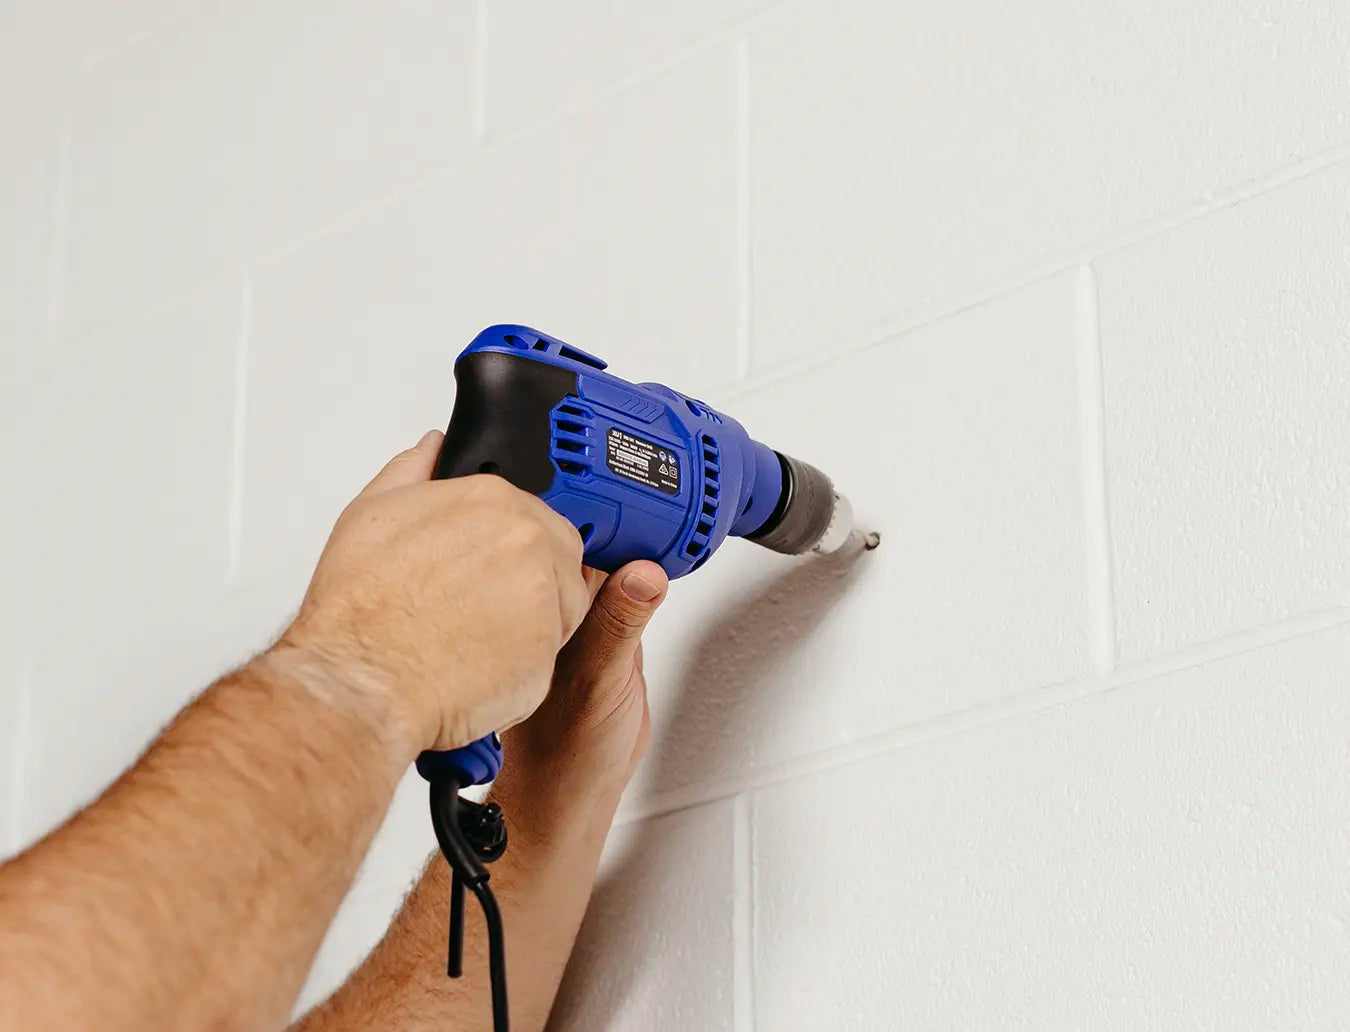
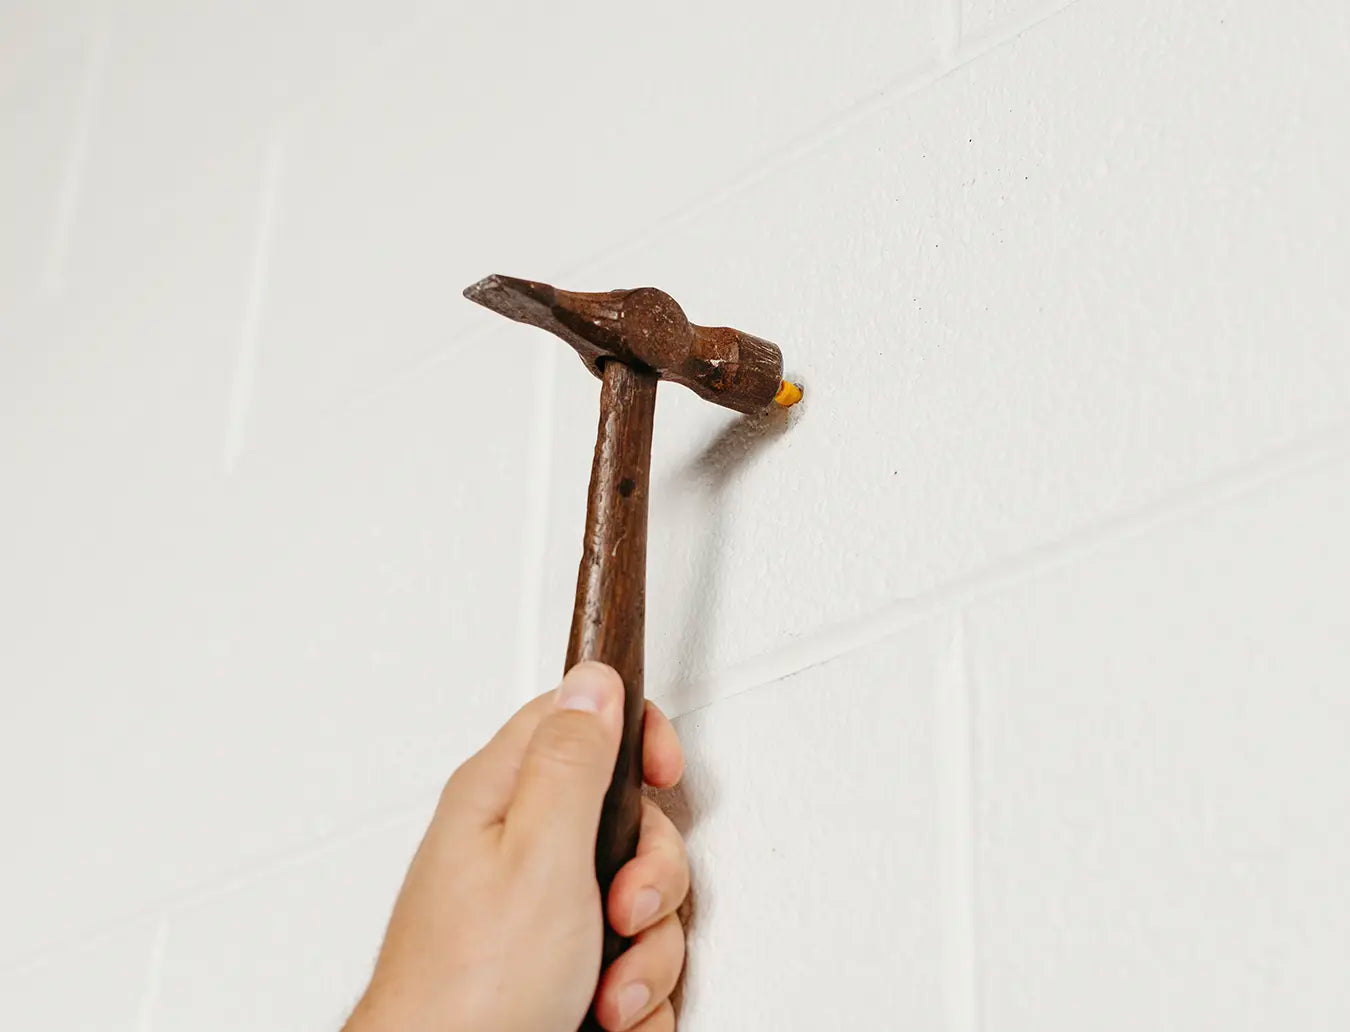
3. Drill the 3 holes
At each pencil mark, drill a pilot hole. Be sure to hold the drill straight and use the right drill bit here:
- Drywall or plaster: Use a standard masonry or multi-purpose bit, and insert a plastic wall anchor if your screws aren't going into a stud.
- Brick or concrete: Use a masonry drill bit and wall plugs made for heavier-duty hanging.
- Wood: You can skip wall plugs and drill directly with a wood drill bit, but make sure you're not too close to the edge of any paneling.
If you're unsure what you're working with, tap the wall. A hollow sound usually means drywall; a dull, solid thud usually means masonry. Drill to the depth needed for your anchor or screw.
4. Insert the plastic wall anchor
Our wall hanging clips come with plastic anchors that you can insert into the holes and ensure the screw is held firmly in place. This helps support the weight of your tapestry hanging over time.
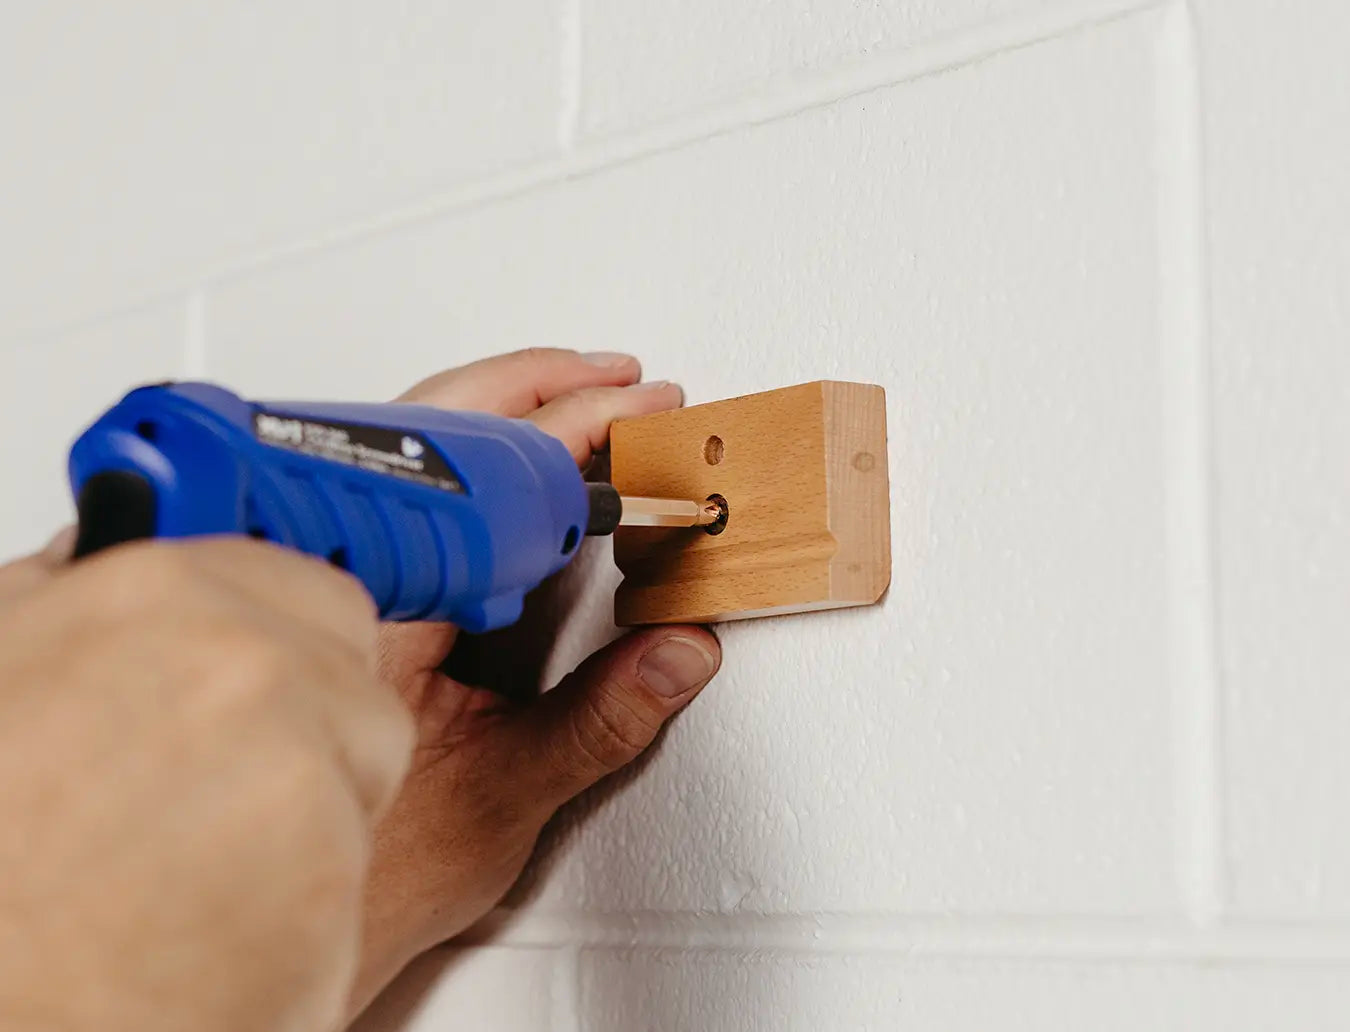
5. Mount the wooden blocks
Hold the wooden block against the wall and drive the screw through the center hole so it fixes firmly into the anchor/pilot hole. These stylish wooden blocks are perfect for a modern wall hanging look and are made from high-quality materials so they'll keep your blanket sturdy over time.
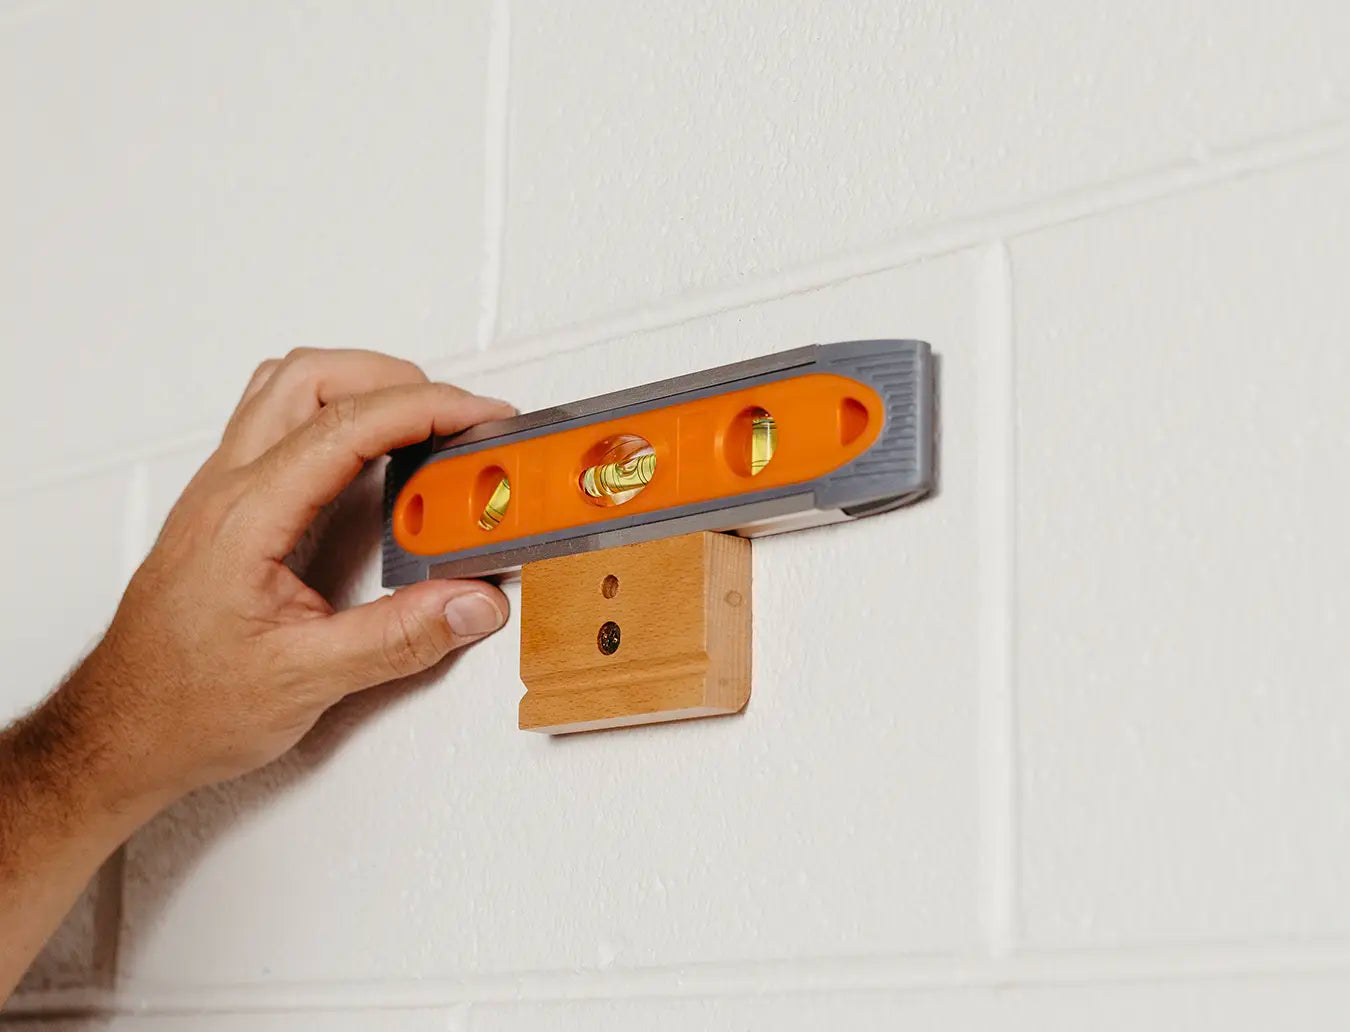
6. Use a level before tightening
Place your spirit level on top of the wooden blocks. Adjust as needed so it sits perfectly straight, then tighten the screw fully. This will make sure your wall tapestry looks aligned with your room.
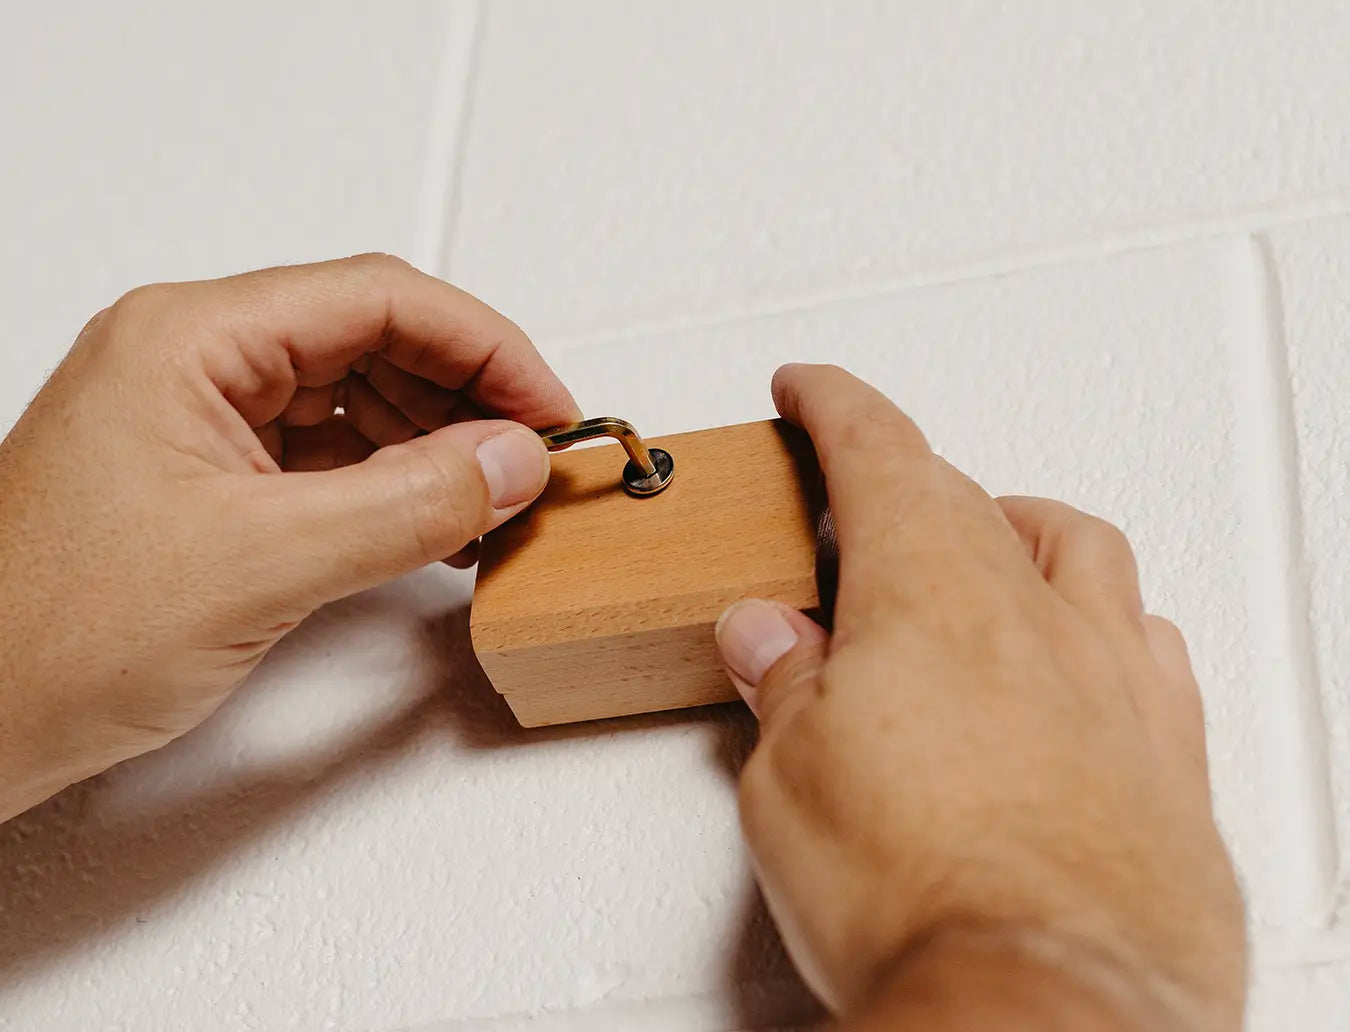
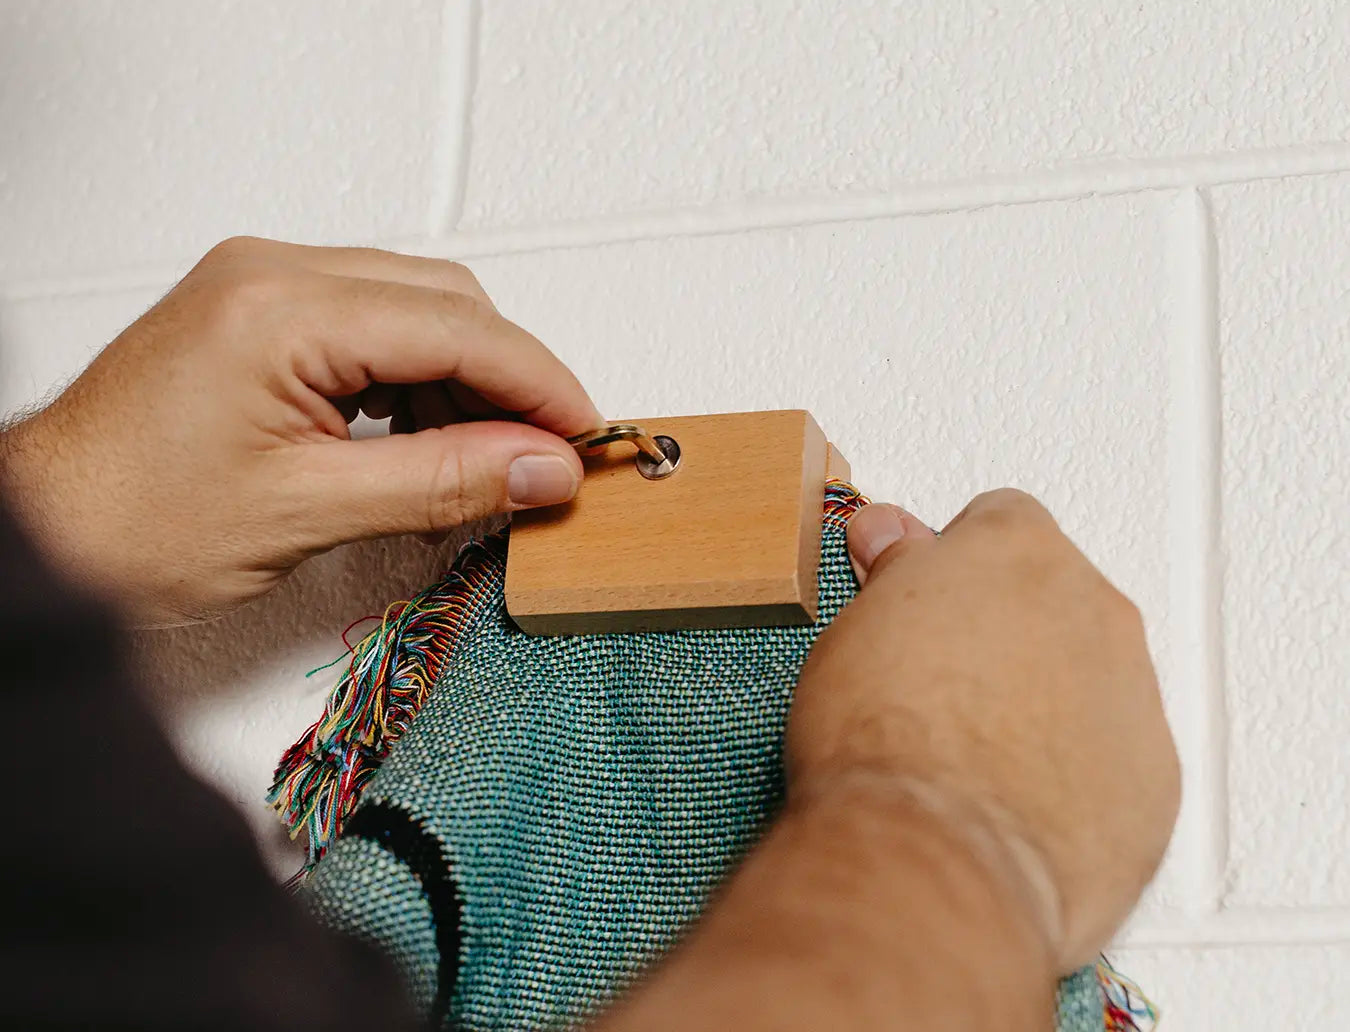
7. Twist the bolt
Twist the bolt on the blanket hanger clip half way so it's attached. You'll tighten it fully after inserting the blanket. We've now created a stable structure for hanging art tapestries.
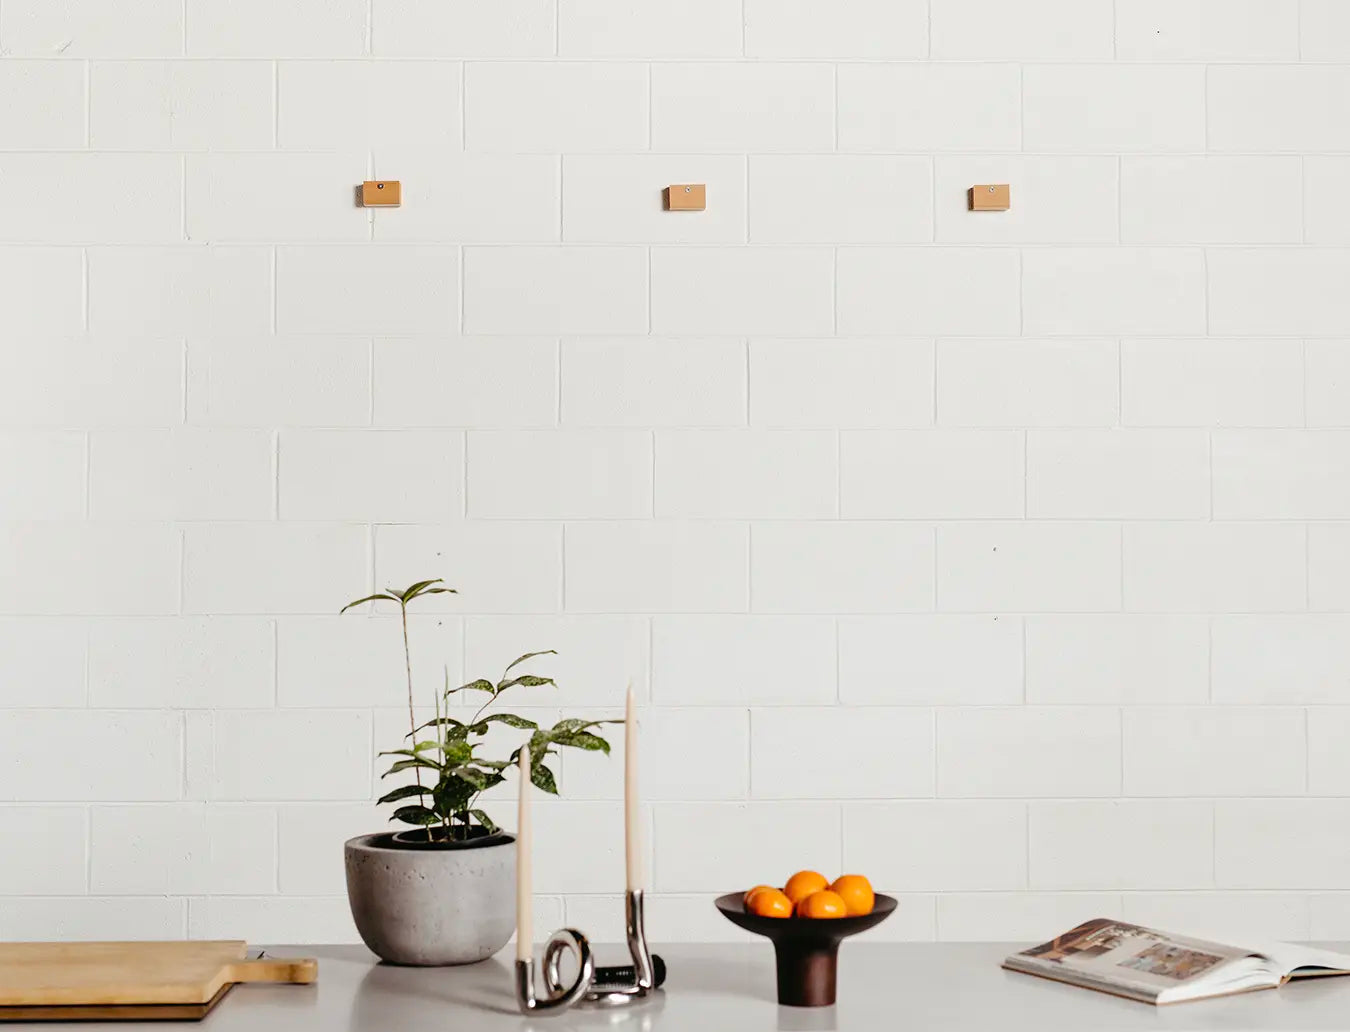
8. Repeat for all 3 blocks
Repeat for all 3 blocks until your wall looks like this :)
9. Attach the blanket to the blocks
Use your Allen key included in your kit to tighten the clips to the blanket.
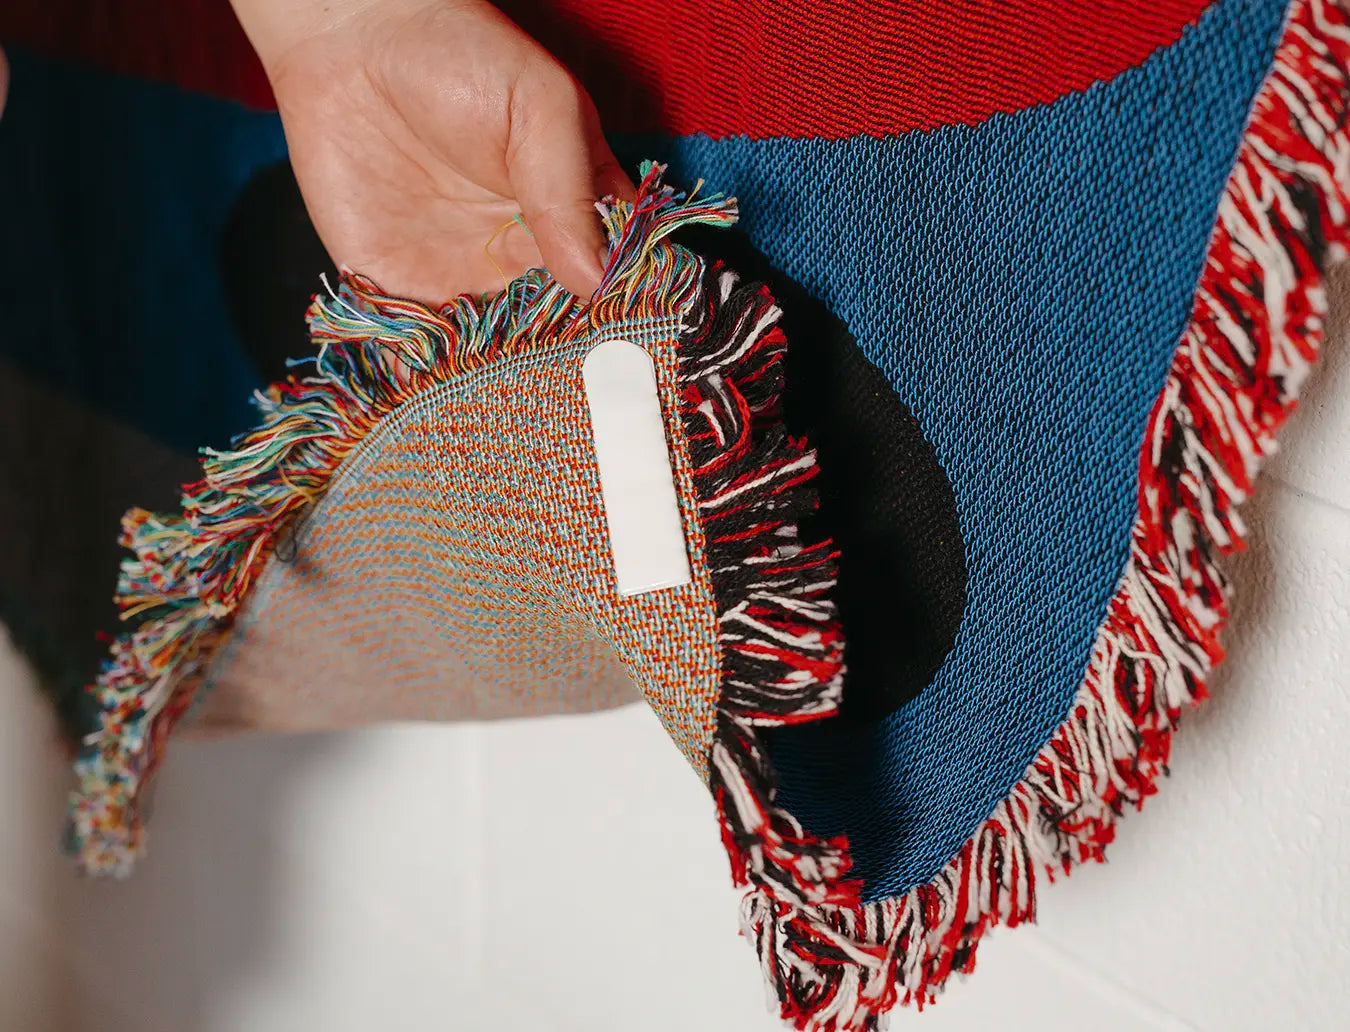
10. Fasten the bottom corners with double sided tape (optional)
Your kit includes double sided tape that you can use to secure the bottom corners of your wall hanging. Especially useful if it's in a breezy spot.
11. Admire your work!
Now your wall hanging tapestry art is officially gallery-worthy.
Step back and admire your work because you just turned a throw into bold wall art for living room large spaces or cozy wall art bedroom corners. Either way, you nailed it.
Shop Wall Tapestry / Throws


FAQs: Hanging a Blanket as a Tapestry on the Wall
What is a tapestry and how is it used on walls?
A tapestry is a woven piece of textile art that's both decorative and expressive. On a wall, it acts like a soft sculpture, instantly transforming blank spaces into moments of artistic inspiration.
What are the best materials for wall tapestries?
Opt for high-quality materials like cotton or wool. Our throws are crafted for double duty: cozy layers and statement wall hanging tapestries.
What do you use to hang wall tapestry?
You can use tapestry wall hanger clips, tapestry clips, quilt hanger bars, or boutique wall hangers. We recommend our blanket hanger wood mounts (because they’re cute and easy).
This guide explains how to hang a tapestry. With a bit of care and creativity Slowdown Studio throws can become fine art tapestries.
How do I choose the right wall tapestry for my room?
Want something calming? Look for natural color palettes. Want energy? Go bold with full color. We have a range of designs by artists from all over the world who are inspired by different art styles and movements to fit any room.
How do I properly hang and care for a wall tapestry?
Keep it out of direct sunlight. Dust it gently or spot clean. Or you can chuck it in the machine on a gentle cycle if it needs a good wash. And when you're ready to mix it up you can just switch it out for another piece.